> ## Documentation Index
> Fetch the complete documentation index at: https://proto.evodesign.org/docs/llms.txt
> Use this file to discover all available pages before exploring further.
# Quickstart
> Install the package, learn the Input + Config -> run -> Output contract, and run a tool
[`proto-tools`](https://github.com/evo-design/proto-tools) is an open source infrastructure layer,
that provides access to a large collection of computational biology and biological AI tools behind a
single, uniform Python interface. This guide covers how to set-up the package and run a tool.
Open as a runnable notebook
## Installation
To begin, pip install the package in a virtual environment. The base environment
of proto-tools is intentionally light for maximum compatibility. The base package
requires Python 3.10 or later.
```bash theme={null}
pip install git+https://github.com/evo-design/proto-tools.git
```
## Example tool call
All models and tools have their standard operations divided into functions
that operate over the following abstractions:
* `Inputs`: Contain the actual biological entities the tool operates over.
* `Configs`: Contain runtime settings that can be adjusted to control tool behavior.
* `Outputs`: The object that is produced by the tool.
These abstractions are [Pydantic](https://docs.pydantic.dev/) models, which declare each field with
a type and the values it is allowed to take. Pydantic enforces those declarations the moment the
object is constructed, so a value outside a permitted range is rejected immediately and names the
offending field, rather than failing part-way through a run that has already loaded a model onto a
GPU.
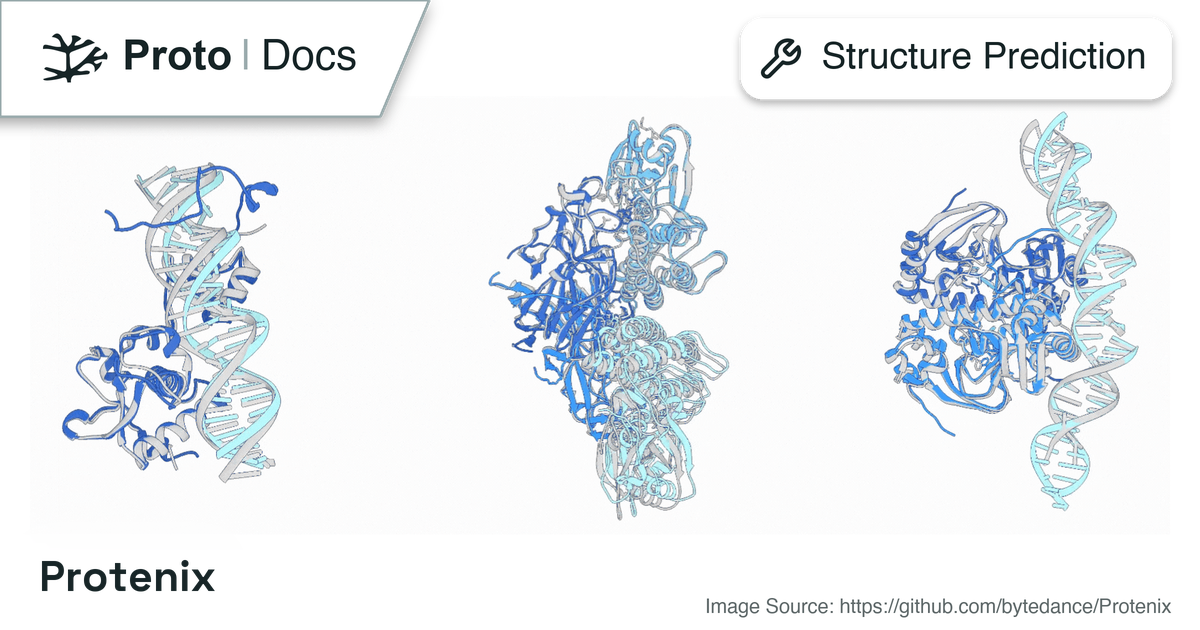
Let's show a quick example of how to call a tool. Here we will call Protenix to fold a protein complex.
To begin, it may be helpful to look at our documentation page for Protenix, which contains a section on the Input, Config, and Output models and the various fields they define.
On the documentation page above, we can see the run function and the various models it takes in as arguments. Let's import them below.
```python python icon="python" theme={null}
from proto_tools import run_protenix, ProtenixInput, ProtenixConfig
# The input holds the biological entities. This is avGFP, the green fluorescent protein.
GFP = (
"MSKGEELFTGVVPILVELDGDVNGHKFSVSGEGEGDATYGKLTLKFICTTGKLPVPWPTLVTTFSYGVQCFSRYPDHMKQ"
"HDFFKSAMPEGYVQERTIFFKDDGNYKTRAEVKFEGDTLVNRIELKGIDFKEDGNILGHKLEYNYNSHNVYIMADKQKNG"
"IKVNFKIRHNIEDGSVQLADHYQQNTPIGDGPVLLPDNHYLSTQSALSKDPNEKRDHMVLLEFVTAAGITHGMDELYK"
)
inputs = ProtenixInput(complexes=[GFP])
# Every config field carries a default, so the config can be omitted entirely.
# Here we lower the number of diffusion samples to 1 to make the run quicker.
config = ProtenixConfig(num_diffusion_samples=1)
# Finally, we can run the function
output = run_protenix(inputs, config)
```
```python python icon="python" theme={null}
# We can then take a look at the outputs we recieved back
structure = output.structures[0]
print(f"pLDDT: {structure.metrics.avg_plddt:.3f}")
print(f"confidence: {structure.metrics.confidence_score:.3f}")
```
And that's it! All environment set-up is handled automatically for us under the hood. The next time this tool is called, inference will be subsantially faster as the environment and weights will already be set up on this machine.
## Go deeper
For the complete runtime reference, covering identifier resolution, the registry and CLI surfaces,
schema and documentation extraction, gated model weights, and calling conventions, consult the
developer notes in the proto-tools repository:
Finding and Calling ToolsIdentifier resolution, registry methods, schemas, docs extraction, gated weights, and calling patterns.
## Next Steps
Continue with **[Tool Environments](https://proto.evodesign.org/docs/tools/guides/tool-environments)**,
the next guide in this series.
How a tool's isolated environment is built on first call and cached afterward.
Keep a model loaded across calls to skip repeated load times.
How tools are placed on GPUs, with LRU eviction and CPU offload.
Dispatch tool runs to remote compute.
 These abstractions are [Pydantic](https://docs.pydantic.dev/) models, which declare each field with
a type and the values it is allowed to take. Pydantic enforces those declarations the moment the
object is constructed, so a value outside a permitted range is rejected immediately and names the
offending field, rather than failing part-way through a run that has already loaded a model onto a
GPU.
Let's show a quick example of how to call a tool. Here we will call Protenix to fold a protein complex.
To begin, it may be helpful to look at our documentation page for Protenix, which contains a section on the Input, Config, and Output models and the various fields they define.
These abstractions are [Pydantic](https://docs.pydantic.dev/) models, which declare each field with
a type and the values it is allowed to take. Pydantic enforces those declarations the moment the
object is constructed, so a value outside a permitted range is rejected immediately and names the
offending field, rather than failing part-way through a run that has already loaded a model onto a
GPU.
Let's show a quick example of how to call a tool. Here we will call Protenix to fold a protein complex.
To begin, it may be helpful to look at our documentation page for Protenix, which contains a section on the Input, Config, and Output models and the various fields they define.